Hello everyone,
I am writing this on Sunday, not sure if I will finish it tonight, fingers crossed, as my Monday & Tuesdays are usually pretty busy, so I thought I could at least start this today. We celebrated my dad's birthday today and this is who the card is for - I must warn you, these cards are so simple they are ADDICTIVE!
Excuse the photo, I'll take a better one in the light but let's get on to the tutorial.
First cut your A4 card in half *the same size you would to make a C6 card - 10.5x14.8cm.
Then score at the 14.8 side at 2, 4, ,6, 8 inches. Then turn and score at 2 3/4 inches.
Then cut down the lengths of the 2 3/4 inches, as in the picture, also cut the extra small flap at the top (see mine highlighted).
Sorry just to confuse you all I flipped it, but this is what it should look like once cut and where I've written is the only side/flap you don't fold - so fold the rest of the sides.
Then put some double sided tape on the 'extra flap'.
Peel and stick to the other side creating a box!
Now we need to create little tabs to fit inside to create the platform to our card.
Cut 2 pieces of card 3 inches by 1 inches, then score at 1/2 inch at both ends, then fold.
stick some double sided tape at either ends but at opposite directions, which is why you can only see one as the other side is on the opposite end.
Unpeel one end and this is how you will stick it in the middle of your box but as close to the top edge as possible!
Repeat with the other one and it should look like that!
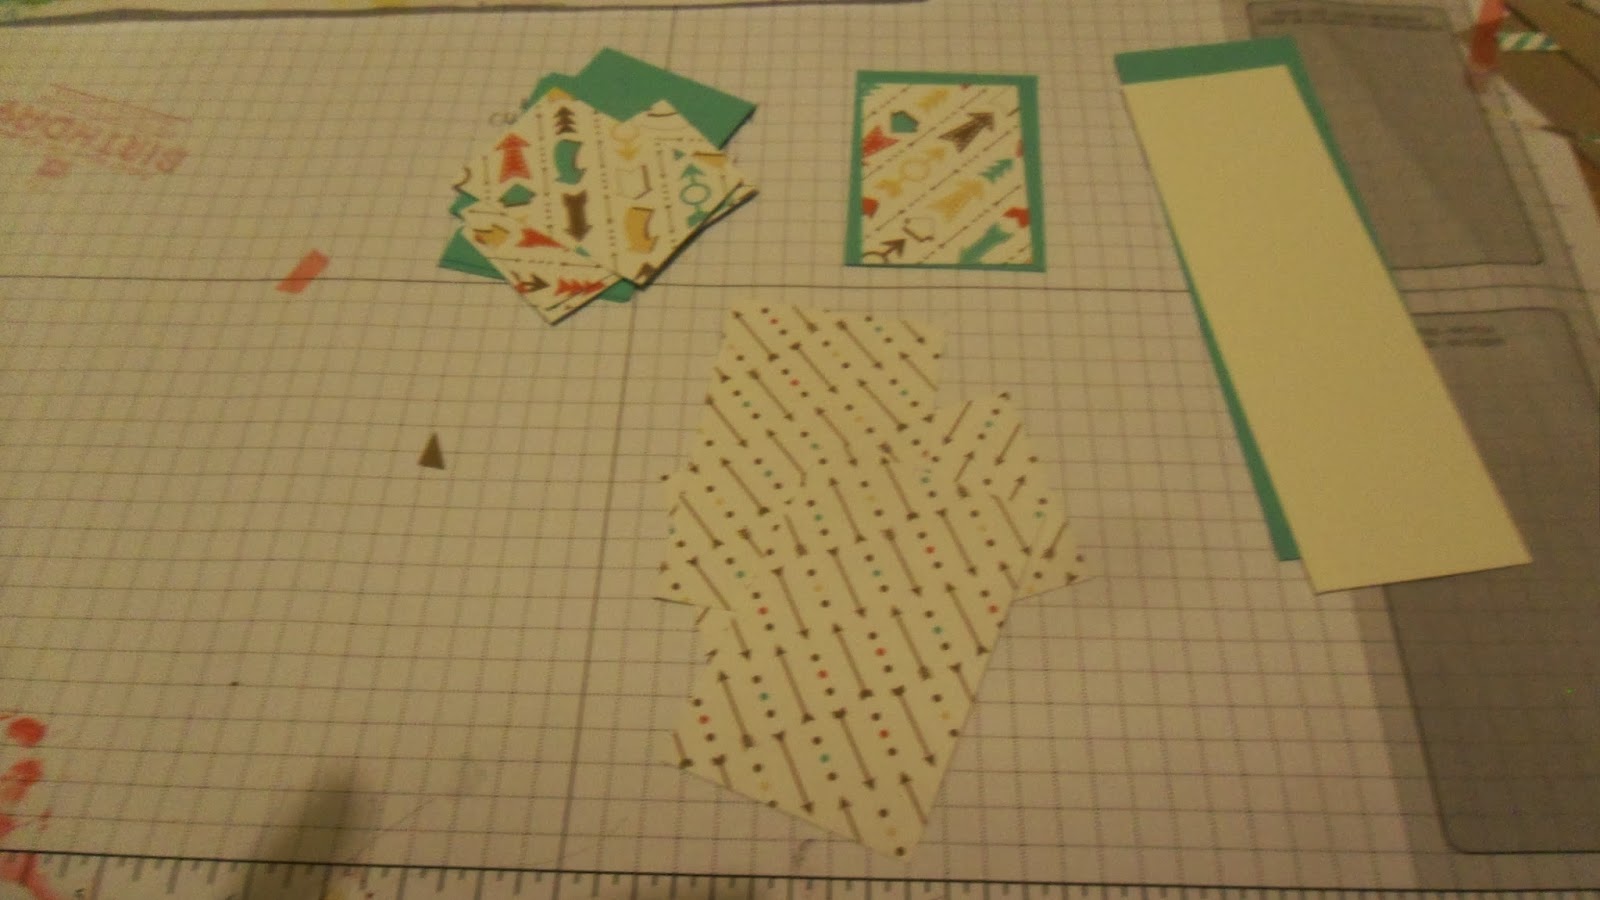
Now it's time to decorate, if you are going to decorate the bottom 3 sides, you need to cut out 3 pieces of co-ordinating card 2 and 3/4 inch by 1 and 3/4 inc, then in a co-ordinating designer paper 2 and 1/2 inch by 1 and 1/2 inch.
For the top folding flaps, you can use the same as the bottom or if it is double sided, you can use the reverse to the bottom, so cut 4 pieces of card at 2 and 1/2 inches by 1 and 1/2 and 4 pieces of DSP at 2 and 1/4 by 1 and 1/4 inches.
You should have something similar to this:
The two long strips are for the back, the sizes of these are, card 1 and 3/4 inch by 5 and 1/2 inches and then in Very Vanilla 1 and 1/2 inch and 4 and 1/4 inch.
Then it's up to you how to decorate it, I hope this one will give you some ideas, anything that 'pops out' is stuck on the two platforms we stuck earlier!
I do hope you have found this tutorial useful, I would love to read any of your comments.
Enjoy, I would love to see your card in a box too!
Until next time,
D x